To boot from the E2B menu system (Legacy-only) with persistence you can use the .isopersistdebian file extension – see instructions here (requires both USB partition 3 and 4 to be unused).
To boot Kali with persistence via Legacy and UEFI, you can use the Ventoy menu system. See the persistence plugin page for more details.
To boot to Kali with persistence (Legacy+UEFI) in the agFM menu system, you can make partition image files (see here) OR copy and edit the kali_x64_persistent.cfg sample file (see below).
Note that with Kali, persistence does not work with a blank persistence file. It must contain a ‘persistence.conf’ file before it will be recognised.
The Ventoy website provides a variety of pre-made persistence files of different sizes and type for you (Ventoy ‘backend releases‘). The ones suitable for Kali are the ext4 persistence.dat files.
The following allows you to use agFM to legacy and UEFI-boot and there are also instructions for adding an E2B Kali+persistence .mnu file which does not require partition 3.
Instructions for adding Kali+Persistence to agFM
- Download your Kali ISO use the Live Boot amd64 version of the ISO – I used kali-linux-2021.1-live-amd64.iso, 2021.2 also works. (Note: kali-linux-2020.4-live-amd64.iso does NOT boot correctly – do not use!)
- Copy the ISO file to \_ISO\LINUX folder on partition 1 (there should be NO SPACES in the filename)
- Download the Ventoy persistence file and extract one of the ‘persistence_ext4_XXX_persistence.dat files (whichever size you want).
- Copy one of the .dat files to the root of your E2B USB drive (partition 1) and rename it using the exact same name as the ISO file but with a -rw added – e.g. \kali-linux-2021.1-live-amd64-rw
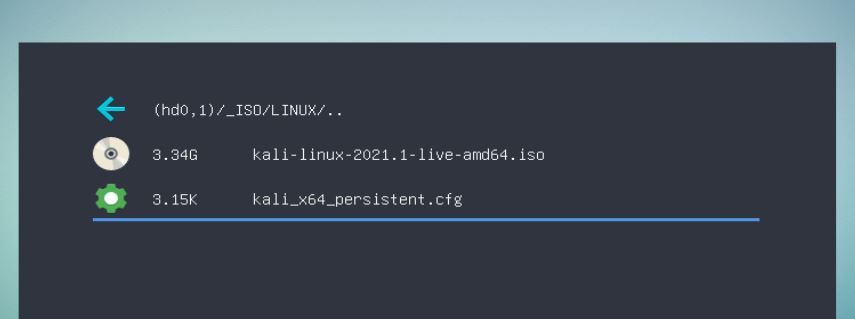
- Copy the \e2b\Sample agFM menu files\LINUX\kali_x64_persistent.cfg file on the second partition to \_ISO\LINUX folder on the first E2B partition (see screenshot below).
- Rename the .cfg file to whatever name you like
- Use a text editor to edit the .cfg file. You may need to change the name of the .iso and -rw persistence files. The files do not need to be in any particular folder and you can change the paths if you wish.
- Run the \MAKE_THIS_DRIVE_CONTIGUOUS.cmd script to make all files contiguous.


Boot to agFM (press L to jump to the Linux folder and K to jump to the kali menu entries).
You can now select and run the .cfg file.
Note: Selecting the .iso file will run Kali without persistence (the persistence menu entries in the ISO won’t work).
You may see three or four menu entries:
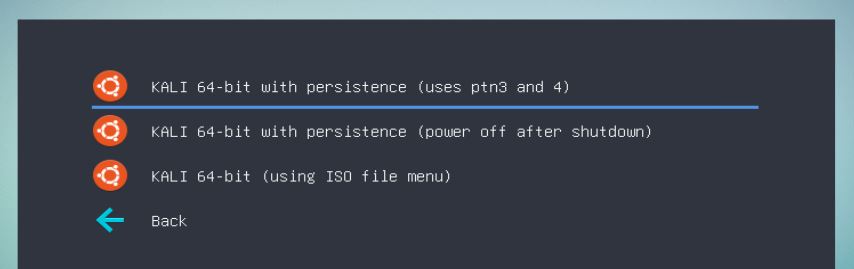
The first menu will only appear if partition 3 on the E2B USB drive is unused. This menu entry should not have a problem on shutdown (it does not use the findiso= kernel parameter).
The second and third menu only require partition 4 to be empty (which it always is), but some versions of Kali seem to have a problem on shutdown and you may need to hold down the power button to switch off after clicking on ‘Shutdown’.
The third menu uses the Kali menu that is in the ISO. If you want persistence then you must select the persistence menu entry:

Note: Always shutdown ‘nicely’ using the Linux Shutdown button and shutdown the Desktop GUI (or equivalent). Never just switch off the power whilst Linux is running or you may corrupt the persistence file. A corrupt persistence file can cause the Linux kernel to fail to boot (if so, remove or remake the persistence file).
Check persistence is working
In a terminal, type:
mount | grep 'persist'
df | grep 'persist'
You should see that a partition is being used for the persistent overlay.
You can check the persistence.conf file inside your *-rw file by opening it in 7Zip – then select the conf file and press F3 to view the contents.

Boot Kali+persistence without using Partition 3
If Partition 3 is already used on the E2B USB drive, then you cannot use the .isopersistdebian or some .mnu files. In this case you can add the
kali-linux-2022.2-amd64_Persistent_PTN3_NOT_USED.mnu file to the same folder as your ISO and then edit the .mnu file contents so that it contains the correct filenames for your ISO and persistence file. Look in the \_ISO\docs\Sample mnu files\Linux folder for the .mnu file.
Note that using this method, the system may hang on shutdown/restart. You should wait for all USB LED activity to stop (about 30 seconds) and then switch off.
Pingback: Boot Parrot OS with persistence – Easy2Boot