By using an XML file, we can use Ventoy to boot to a Win11 ISO and bypass the TPM, RAM size and Secure Boot checks.
- Download and copy a Windows 11 ISO file to \_ISO\WINDOWS\WIN11 folder
- Create an XML file containing a RunSynchronousCommand entry and a generic Windows 10 install Product Key for Home or Pro (files included in download)
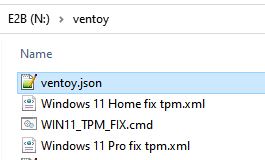
- Place the XML file in the \ventoy folder on the E2B NTFS Partition 1 volume of the USB drive
- Place the file WIN11_TPM_FIX.cmd in the same \ventoy folder (download is at bottom of this page)
- Create or edit a \ventoy\ventoy.json text file which contains one or more XML file entries for each Win11 ISO you want to use, e.g. see red text below…
    "auto_install": [
        {
            "image": "/_ISO/cn_windows_10.iso",
            "template": "/ventoy/script/windows_unattended.cfg"
        },
        {
            "image": "/_ISO/WINDOWS/WIN11/22000.1.210604-1628.CO_RELEASE_CLIENTMULTI_X64FRE_EN-GB_CORE_PRO.ISO",
            "template": [
	    "/ventoy/Windows 11 Pro fix tpm.xml",
            "/ventoy/Windows 11 Home fix tpm.xml"
    	    ]
        },
        {
            "image": "/_ISO/cn_windows_server_2012_r2_vl_x64_dvd_2979220.iso",
            "template": [
                "/ventoy/script/windows_unattended1.xml",
                "/ventoy/script/windows_unattended2.xml",
                "/ventoy/script/windows_unattended3.xml",
                "/ventoy/script/windows_unattended4.xml",
                "/ventoy/script/windows_unattended5.xml",
                "/ventoy/script/windows_unattended6.xml"
            ]
        }
    ]
Now boot to Ventoy (through E2B legacy menu or agFM Legacy\UEFI menu) and select the Windows 11 ISO that you specified in the ventoy.json file.
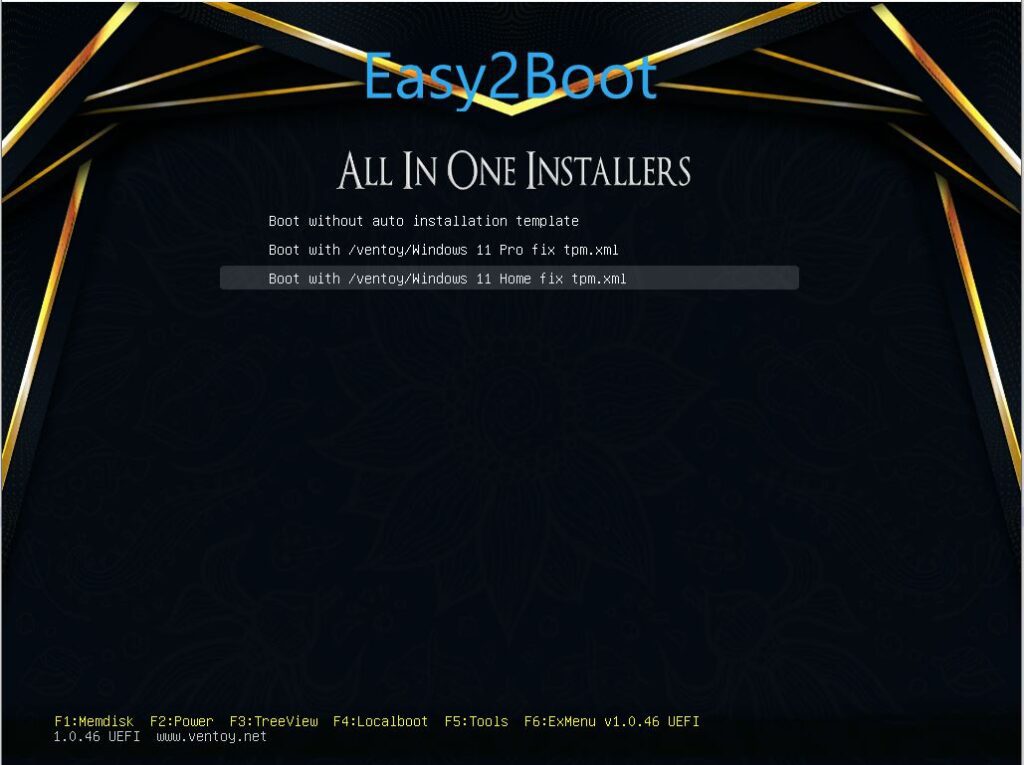
Ventoy will warn you if there is a syntax error in the ventoy.json file.
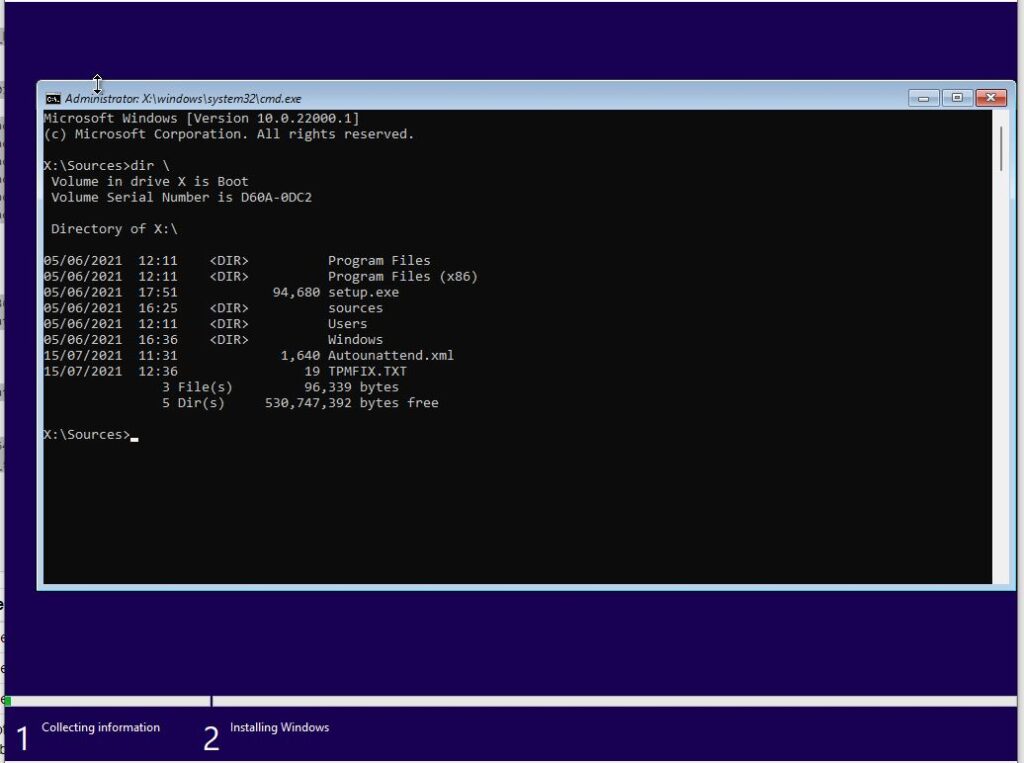
The TPM, RAM and Security bypass registry entries should now be added before Setup starts to run. You can check by looking for a X:\TPMFIX.TXT file (press SHIFT+F10 to get to the WinPE cmd console, type dir \ and then type exit)
Tip: You can edit the XML file and delete the 5×5 Product Key (only delete the 29-characters of the key, not the <Key></Key> text or any lines). You can then use this XML file to install any Edition that is included within the ISO – however, if the target system includes an OEM UEFI-embedded Product Key (e.g. Dell Win10 Home PC), then Win11 Home will be automatically chosen by Setup. So to install Win11 Pro, you need to use an XML file with a generic WIn 10/11 Pro Key (as supplied).