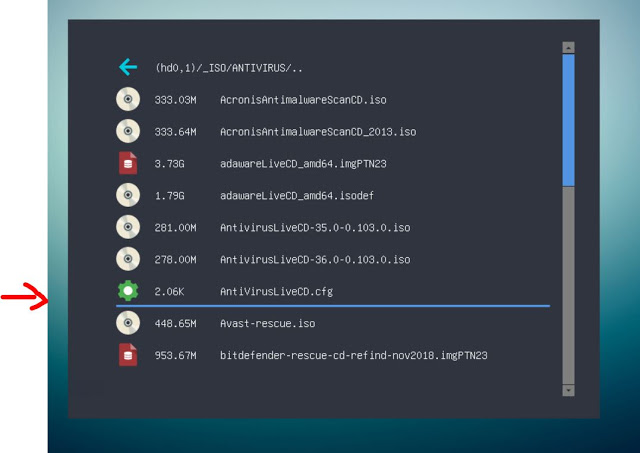
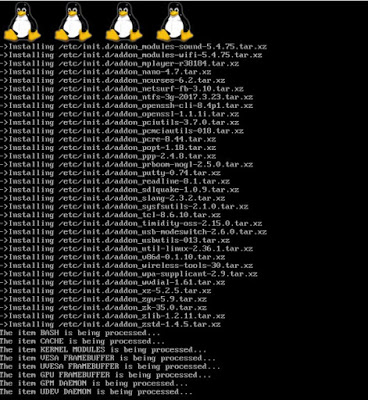
The AntiVirusLiveCD ISO only supports 64-bit CPUs and Legacy\MBR booting. MBR-booting on a system with a 32-bit CPU causes a ‘not 64-bit CPU’ error message to be displayed.
When I downloaded the AntivirusLiveCD-36.0-0.103.0.iso file, I found by using 7Zip, that it did not contain a \EFI folder or any boot image which contained any .efi boot files. So the ISO does not support UEFI-booting.

Even though the ISO does not contain UEFI64 boot files, it is possible to first UEFI64-boot to grub2 and then load the linux kernel and initrd ramdrive files under grub2. As long as the kernel does not rely on any Legacy BIOS calls, it should still boot OK.
I examined the AntivirusLiveCD-36.0-0.103.0.iso’s \boot\isolinux\isolinux.cfg file:
isolinux.cfg
default menu.c32
 prompt 0
 menu title AntivirusLiveCD 36.0-0.103.0
 timeout 100

 label Console
 menu label AntivirusLiveCD 36.0-0.103.0 with Default Display
 say Booting AntivirusLiveCD:
 kernel /boot/bzImage
 append initrd=/boot/initrd.gz rw root=/dev/ram0 vga=normal

 label Framebuffer
 menu label AntivirusLiveCD 36.0-0.103.0 with VESA Framebuffer
 say Booting AntivirusLiveCD:
 kernel /boot/bzImage
 append initrd=/boot/initrd.gz rw root=/dev/ram0 vga=ask
and then constructed a new .cfg file suitable for agFM:
/_ISO/ANTIVIRUS/AntivirusLiveCD.cfg
# AntiVirusLiveCD  (AntivirusLiveCD-36.0-0.103.0.iso)

set grubfm_file=($bootdev,msdos1)
/_ISO/ANTIVIRUS/AntivirusLiveCD-36.0-0.103.0.iso
source ${prefix}/func.sh

# check file is contiguous
set x=0
stat -c -q -s x "${grubfm_file}"
if [ ! "${x}" = "1" ] ; then
 echo ERROR: ${grubfm_file} is not contiguous or does not exist!
 sleep 3
 grubfm "${grubfm_current_path}"
fi
unset x

if [ "${CPU}" == "32" ]; then
 echo ERROR: 32-bit CPUs are not supported!
 sleep 3
 grubfm "${grubfm_current_path}"
fi

menuentry "AntiVirusLiveCD (default display)" --unrestricted --class gnu-linux {
 #only update partition table if already empty
 if ! test -d (${bootdev},4) ; then partnew --type=0x00 --file="${grubfm_file}" (${grubfm_disk}) 4 ; fi
 map -n "${grubfm_file}"
 map -u
 loopback loop "${grubfm_file}"
 set root=loop
 # Check the /grub/isolinux folder for correct parameters to use
 linux /boot/bzImage rw root=/dev/ram0 vga=normal
 initrd /boot/initrd.gz
 boot
 }

menuentry "AntiVirusLiveCD (with VESA Framebuffer)" --unrestricted --class gnu-linux {
 #only update partition table if already empty
 if ! test -d (${bootdev},4) ; then partnew --type=0x00 --file="${grubfm_file}" (${grubfm_disk}) 4 ; fi
 map -n "${grubfm_file}"
 map -u
 loopback loop "${grubfm_file}"
 set root=loop
 linux /boot/bzImage w root=/dev/ram0 vga=ask
 initrd /boot/initrd.gz
 boot
 }

menuentry "Back" --class go-previous {
# return back to 'open' menu
grubfm "${grubfm_current_path}"
}
As the kernel did not seem to support 32-bit CPUs, I added some code to abort if a 32-bit CPU is detected.
Depending on which ISO you are using, you may need to check that the kernel parameters used on the line that begins with ‘linux’ are correct by looking inside the ISO at the original isolinux.cfg file, because the parameters used can sometimes change from version to version.
The agFM code uses the partnew command to create a new Partition 4 on the USB drive, therefore the ISO file must be made contiguous first. Although the partnew command requires a writeable drive and a contiguous ISO file, it can be used to boot 99% of all Linux-based ISOs in a generic fashion (unlike other solutions such as YUMI or Ventoy which often have to have patches for loads of different versions of different distros).

You can add [64-bit Legacy+UEFI] to the file name if you wish.
Instead of a .cfg file, you can make a .grubfm file. See here or eBook #4 for more details.
The .cfg file is in agFM v1.71 in the \e2bSample agFM Menu files\LINUX folder.


