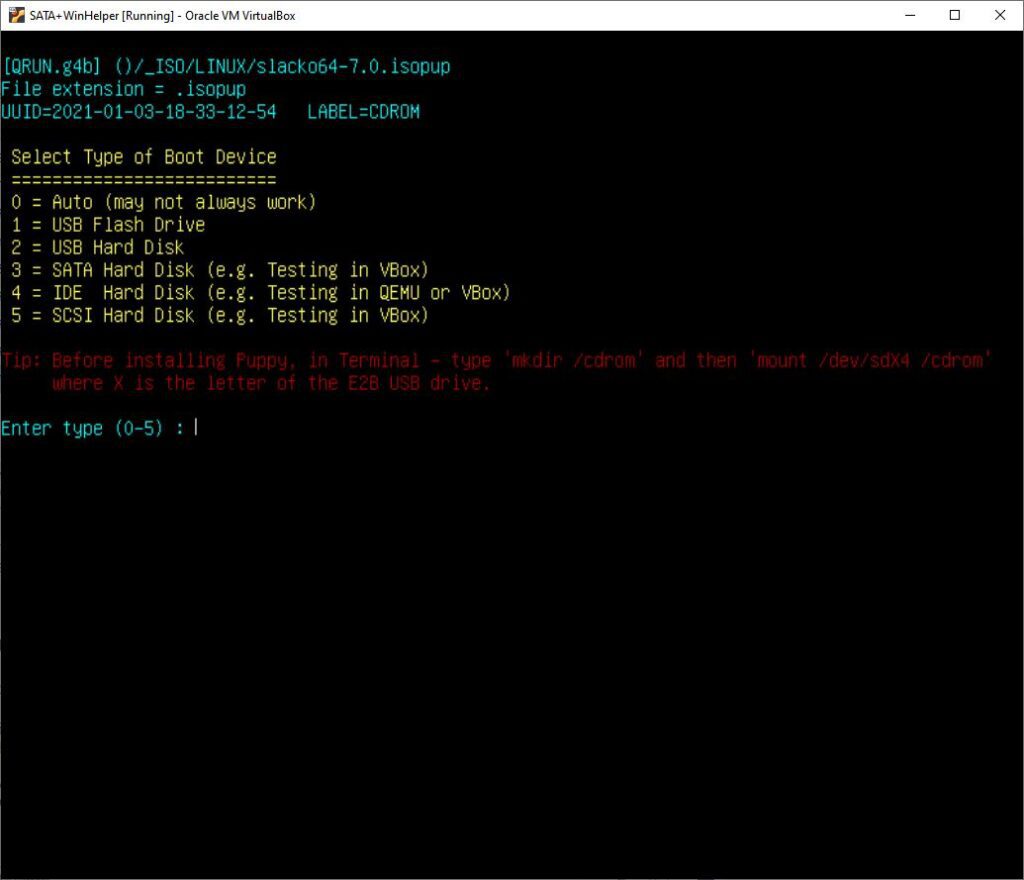
Puppy Linux is very lightweight and also has a Live-Persistent save feature where it can create its own save file (you don’t need to create a persistence file yourself).
All we need to do is add the ‘psavemark=1’ keyword into the kernel parameters (which is what E2B does when you use the .isopup file extension).
So if you simply name your Puppy ISO with a .isopup file extension and boot it using the E2B grub4dos menu system, it should create a ‘save’ file when you shutdown from the Puppy Desktop.

Puppy will save the ‘save’ file at the root of the E2B Partition 1 (\slacko64save.3fs).
Legacy\UEFI-booting using agFM
agFM does not fully support the .isopup file extension.
agFM will boot to the ISO or .isopup file OK but the save feature will not work – if you want the save feature you will need to add a .grubfm or .cfg file.
If you don’t use a grubfm or .cfg file then you can boot to the .iso/.isopup file using agFM, but when you get to the Puppy grub2 menu, you must press ‘e’ and add in psavemark=1 to the kernel parameters before pressing F10 to boot (see screenshots below).
Then the ‘Save’ file will be saved/loaded by Puppy.
If you do not add psavemark=1 then Puppy will prompt you to save the ‘Save’ file on the sdx4 partition which is the partition with the ISO file in it – so it won’t actually save anything!
Use an agFM .cfg file
A much better alternative is to use a .cfg or .grubfm file (included in the \e2b\Sample agFM Menu Files folder – copy the file to the same folder as your ISO and then edit it if required).
.cfg files can be placed anywhere and have any name, but if it starts with the same name as the ISO, then you can easily see it listed in the agFM menu next to the .iso or .isopup file. The exact path and filename must be edited in the text inside the .cfg file before it will work.

.grubfm files MUST have the same filename as the ISO or .isopup file and be in the same folder. Usually you don’t need to edit the .grubfm file, it’s filename just needs to match the ISO’s filename. You then run the ISO from the agFM menu and pick the ‘User Menu’ entry.
Using a .cfg file is easier than using a .grubfm file because the file will be listed in the agFM menu along with the .isopup file, so you can easily directly select the .cfg file and boot to a persistent puppy…
Example .cfg file for Puppy Linux ISOs
# Boot Puppy with persistence
# filename must be set below

    set "grubfm_path=/_ISO/LINUX/slacko64-7.0.isopup"

    set "grubfm_file=(${grubfm_device})${grubfm_path}"
# check file is contiguous
set x=0
stat -c -q -s x "${grubfm_file}"
if [ ! "${x}" = "1" ] ; then
    echo ERROR: ${grubfm_file} is not contiguous or does not exist!
    sleep 5
fi

#If problems booting, may need to change pmedia
set pm=pmedia=cd
#set pm=pmedia=
#set pm=pmedia=usbflash
#set pm=pmedia=usbhd
#set pm=pmedia=satahd
#set pm=pmedia=idehd
#set pm=pmedia=scsihd

#set ISO into ptn4 (if free)
if ! test -d (${grubfm_disk},4) ; then partnew --type=0x00 --file="${grubfm_file}" (${grubfm_disk}) 4 ; fi

if [ "$CPU" = "64" ] ; then
    loopback loop "${grubfm_file}"
    set root=(loop)
    echo Booting with persistence (psavemark=1)
    linux /vmlinuz pfix=fsck ${pm} vga=ask psavemark=1
    initrd /initrd.gz
    boot
else
# return back to 'open' menu
    echo Not 64-bit CPU!
    sleep 3
    grubfm "${grubfm_current_path}"
fi
FatDog
FatDog64 is much easier to use in that it allows you to use a save file by just booting from the ISO – no .cfg file is needed. When you ‘Shutdown’ Fatdog64 it will prompt you to make a savefile.
Tip: For quicker booting, rename the .iso file extension to .isodef.
FatDog .cfg file
You can make a .cfg file for Fatdog if you require
FatDog64 is not the same as Puppy Linux and uses ‘savefile‘ not ‘psavemark’, and you can specify the location and type of savefile.
- savefile=direct:local — savefile on any local device (default) – you can also use direct:usb.
- savefile=direct:device:sda1 — use savefile named fd64save.ext4 located in root directory of /dev/sda1, save directly to it
- savefile=ram:device:sda2:/fd600/fd64save.3fs — use savefile named fd64save.3fs located in /fd600 directory of /dev/sda2, use RAM layer
- savefile=ram:usb — use savefile named fd64save.ext4 located in root directory of the first found usb device, use RAM layer
- savefile=direct:multi — use multisession on device /dev/sr0
#Boot Fatdog with persistence # filename must be set belowset "grubfm_path=/_ISO/LINUX/Fatdog64-811.isodef"set "grubfm_file=(${grubfm_device})${grubfm_path}" # check file is contiguous set x=0 stat -c -q -s x "${grubfm_file}" if [ ! "${x}" = "1" ] ; then echo ERROR: ${grubfm_file} is not contiguous or does not exist! sleep 5 fi set ISO into ptn4 (if free) if ! test -d (${grubfm_disk},4) ; then partnew --type=0x00 --file="${grubfm_file}" (${grubfm_disk}) 4 ; fi if [ "$CPU" = "64" ] ; then loopback loop "${grubfm_file}" set root=(loop) echo Booting with persistence (savefile=direct:local) linux /vmlinuz rootfstype=ramfs savefile=direct:local initrd /initrd boot else # return back to 'open' menuecho Not 64-bit CPU! sleep 3 grubfm "${grubfm_current_path}"fi
You can use savefile=ram:usb if you are always booting from USB (should be faster to boot),

