If your USB drive is over 128GB in capacity, I recommend that you keep Partition 1 and Partition 2 to within 128GB from the start of the drive. This is because many PC and notebook BIOSes have a USB bug where they cannot access sectors past 128GB on a USB drive.
Drives greater than 2TB should not be used. GPT partitions should not be used on the USB drive.

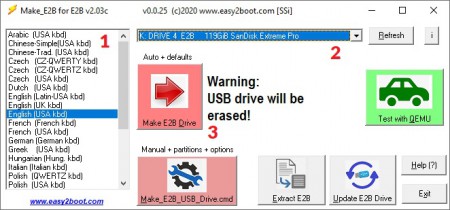
When using Make_E2B.exe, I recommend you use the Gear Wheel button to make a USB drive as follows:
- NTFS 127GB
- FAT32 1GB
- NTFS (rest of free space, use 999 as prompted)
If you want to add bootable payloads to Partition 3, then you can create a similar folder structure to Partition 1. e,g, \_ISO\BACKUP, \_ISO\LINUX, \_ISO\MAINMENU, etc. and then place your payload files in the new folders on Partition 3.
Then copy the file “\_ISO\docs\Sample mnu files\E2B Menus\PTN3_ADD_ALL_FOLDERS_TO_MENU.mnu” to the (Ptn1:)\_ISO\MAINMENU folder on the first partition so that you can list and boot from the payload files on partition 3.
Note that if you wish to boot Windows Install ISOs with XML files from Partition 3, you must also add and edit extra .mnu files to \_ISO\MAINMENU. See the .mnu file “\_ISO\docs\Sample mnu files\Windows\Win10_8_7_ISO_on_PTN3.mnu” for an example. You must also add any .XML files you want to use.
Note that some payload files (e.g. Linux ISOs) will need to be made contiguous. I recommend installing Defraggler and then using it by right-clicking on the ISO file and choosing ‘Defraggler – Defragment’.
.imgPTN files should not be placed on Partition 3 as they may prevent your whole USB drive from being ‘seen’ by a UEFI BIOS or OS once you switch-in the image file.
Both agFM and Ventoy can browse all files on Partition 3, so no special menu is required.